
Your Images Are Probably Slowing Your Site Down — Here's How to Fix That Without Ruining Them
There's a moment every developer or site owner hits at some point. You open Google PageSpeed Insights, feeling reasonably good about your site, and it hands you a score of 54. Red numbers everywhere. And right there in the suggestions — "Serve images in next-gen formats." Every heavy image on your page, flagged one by one.
The frustrating part isn't fixing it. The frustrating part is the fear that "fixing it" means your images end up looking terrible — blurry product photos, washed-out hero banners, text that looks like it was screenshotted off a forum in 2009. Nobody wants that.
But here's what I've found after optimizing images across dozens of projects: when you compress to WebP with the right settings, your visitors genuinely cannot tell the difference. The image looks identical. The file is a fraction of the size. And your page loads like it actually respects people's time and bandwidth.
Let me walk through how this actually works, what settings to use, and where the common mistakes are.
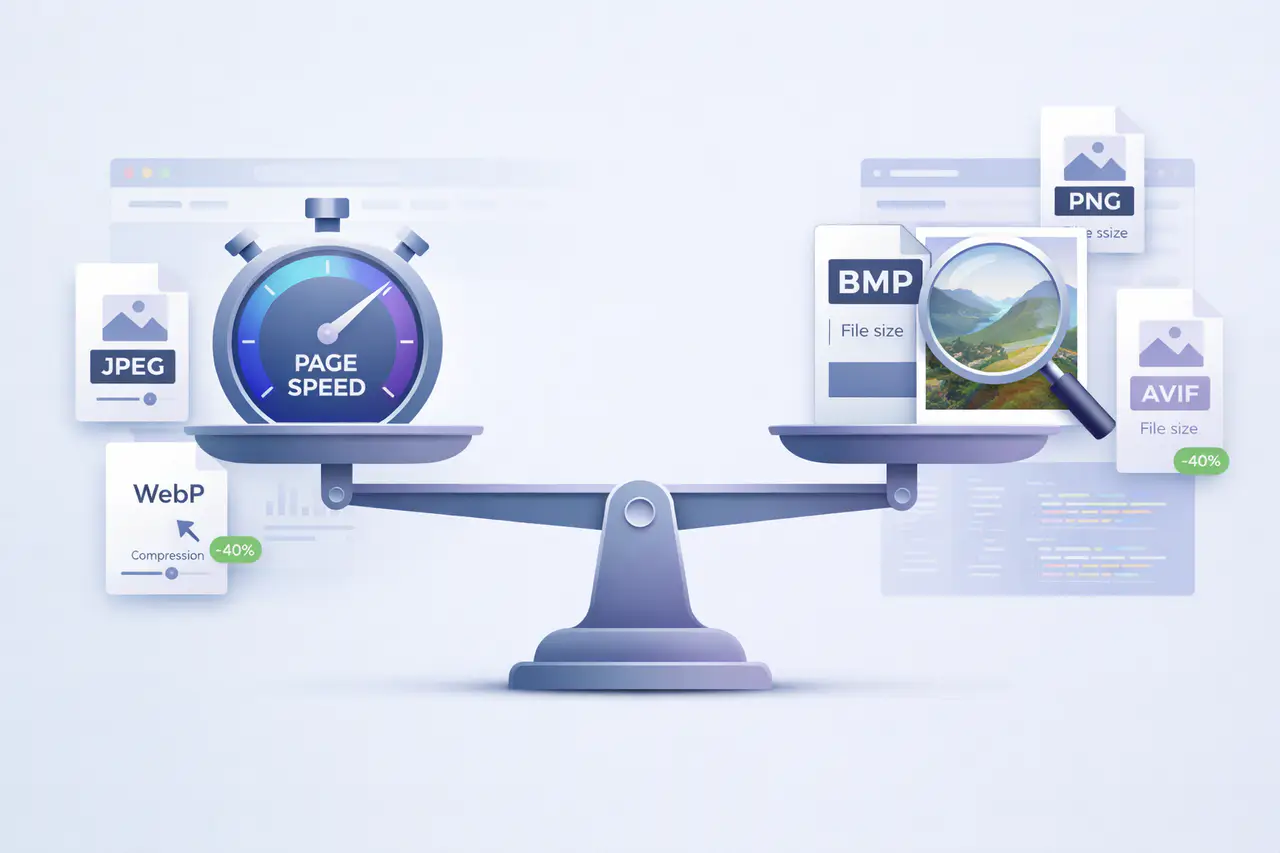
Why Traditional JPEG Compression Feels Like a Trap
For years, the standard approach to image optimization was straightforward: open a JPEG in some tool, drag the quality slider down, export, and hope for the best. It works — to a point. The file gets smaller, but past around 60-70% quality, you start noticing problems. Blockiness around edges. Muddy backgrounds. That telltale smearing in color gradients.
You end up stuck between "too big" and "too ugly" with nothing comfortable in between.
PNG compression is even more limited. PNGs use lossless compression by design — you can't really squeeze them smaller without converting to a different format entirely. So they sit there, large and immovable, doing their job but dragging your page weight up in the process. I've seen single PNG hero images weigh 3-4MB on production sites. That's the entire weight budget for a fast page, consumed by one image.
WebP approaches the problem from a fundamentally different angle. It doesn't just squeeze the same data harder — it stores image information in a structurally smarter way. That's why the results feel different. You're not degrading the image. You're expressing the same visual information more efficiently.
How WebP Compression Actually Works — Without the Jargon
WebP uses a technique called predictive coding. Instead of recording every pixel independently, it analyzes surrounding pixels and makes predictions about what comes next. Only the difference between the prediction and reality gets stored.
Think of it like this: if you're describing a clear blue sky in a photo, JPEG stores the color value for every single pixel, even though most of them are nearly identical. WebP essentially says "this region is blue" once, then only records the tiny variations. On smooth, repetitive areas — plain backgrounds, product surfaces, gradients — this cuts an enormous amount of redundant data without touching anything you'd actually notice.
On top of that, WebP applies a secondary entropy compression pass (similar to what ZIP files use) that squeezes out any remaining inefficiency. The combined effect is that a WebP file carries the same visual information as a JPEG or PNG in a significantly smaller package.
According to Google's compression studies, WebP lossy images are 25-34% smaller than comparable JPEG images at equivalent visual quality. WebP lossless images are 26% smaller than PNGs. These aren't edge cases — that's the average across a broad set of test images.
The Quality Settings That Actually Matter
This is where most people either overthink it or don't think enough. The quality slider isn't just "higher = better." Different types of images have different sweet spots, and finding yours can make a dramatic difference in file size without any visible impact.
Here's what I've found works consistently across real projects:
Photographs and complex images (75-85% quality): This is the range where WebP really shines. At 80%, a typical photograph compresses to roughly 60-70% of its JPEG equivalent size with no perceptible quality loss. I routinely use 82% as my default for blog images and product photos. Below 70%, artifacts start becoming noticeable on close inspection — not dramatic, but present.
Graphics with text and sharp edges (85-95% quality): Logos, screenshots, UI mockups, and anything with rendered text need higher quality settings to keep edges crisp. At 90%, you'll get meaningful file size reduction while preserving the sharpness that matters. Below 85%, text can start looking slightly soft.
Thumbnails and background images (50-70% quality): At smaller display sizes, compression artifacts become invisible. A 200x200 product thumbnail at 60% quality looks identical to 95% quality — but the file might be 80% smaller. For decorative background images that get overlaid with text or gradients, aggressive compression is practically free.
If you're unsure: Start at 80%. It's a reliable baseline that works well for the vast majority of web images. You can always adjust up for specific assets where you notice issues.
Lossy vs. Lossless — Choose Based on What the Image Actually Needs
One of WebP's advantages over older formats is that it gives you a genuine choice between two compression modes, and each has a clear use case.
Lossy WebP is your default for photographs, hero images, blog visuals, and anything with rich color. A 1.5MB JPEG photograph can become a 380KB WebP that looks just as detailed. The savings compound across dozens of images — product galleries, portfolio grids, image-heavy landing pages.
Lossless WebP is for when you cannot afford to lose a single pixel. Logos, screenshots, icons with sharp edges, and anything with text rendered into the image. You still get files 20-30% smaller than PNG, but every bit of original data stays perfectly intact.
A practical rule: if it came from a camera, use lossy. If it was created in a design tool with precise edges and flat colors, use lossless. Unsure? Run both and compare — the file size difference usually makes the right choice obvious.
Tools That Make This Practical
You don't need a complicated setup to start optimizing. The right tool depends on how many images you're dealing with and how hands-on you want to be.
For individual images and small batches: Online tools like WebPImg let you upload, set your quality, and download optimized WebP files without installing anything. Especially useful for blog posts, social media assets, or quick one-off conversions where you want to see the result before committing.
For bulk conversion via command line: Google's own cwebp tool handles this cleanly. A single command converts one image:
cwebp -q 82 input.jpg -o output.webp
Wrap it in a shell loop and you can process an entire product catalog — hundreds of images — in seconds. Consistent settings, fully automatable, and the output quality is identical to what Google uses internally.
For WordPress sites: Plugins like ShortPixel or Imagify handle the entire pipeline silently — converting uploads on the fly, regenerating thumbnails in WebP, and serving the right format to each browser automatically. Set it up once and every image you upload from that point forward gets optimized without you thinking about it.
What About Browser Support?
This used to be the main objection against WebP. Safari was the holdout for years, but it added full WebP support in version 14 (released September 2020). As of 2025, global browser support sits above 97% — Chrome, Firefox, Safari, Edge, Opera, and virtually every mobile browser.
For the remaining edge cases, the HTML <picture> element provides an elegant fallback:
<picture>
  <source srcset="image.webp" type="image/webp">
  <img src="image.jpg" alt="Description">
</picture>
The browser picks whichever format it supports. No JavaScript required, no conditional logic — the browser handles it natively. In practice, I rarely bother with the fallback anymore unless the project has specific requirements for legacy browser support.
Transparency and Animation Still Work
A common concern when switching formats is losing features. Transparent backgrounds for logos? WebP supports full alpha channel transparency, just like PNG. Animation? WebP handles that too, producing files typically 30-50% smaller than equivalent GIFs. You're not giving anything up — just moving the same capabilities into a more efficient container.
The Real-World Impact on Performance and SEO
Faster load times aren't just a vanity metric. They have measurable downstream effects on everything that matters for a website:
Bounce rate: According to Google's research, pages that load within 2.5 seconds have significantly lower bounce rates. Images are typically the largest assets on any page, so optimizing them is often the single highest-impact change you can make.
Core Web Vitals: Google explicitly factors Largest Contentful Paint (LCP) into search rankings. If your LCP element is an image — and it often is — switching to WebP can directly improve your ranking signal. On one e-commerce project, converting product images from JPEG to WebP dropped the LCP from 3.2 seconds to 1.8 seconds. That moved the page from "needs improvement" to "good" in Google's assessment.
Conversion rate: Faster experiences build trust. Users are more likely to complete a purchase, fill out a form, or engage with content on a site that feels responsive. The improvement from image optimization is invisible to users — which is exactly the point. They don't notice the images loaded faster; they just have a better experience.
Switching to WebP is one of those changes where you do it once and it keeps paying dividends quietly in the background, every single day. You don't need to rebuild your site. You don't need specialized tools. You just need to change the format your images are saved in — and do it with the understanding that smaller doesn't have to mean worse.
Better images, lighter files, faster pages. That's the deal — and it's a pretty good one.